MyMonitor
Monitor > MyMonitor
The MyMonitor function simplifies the process of locating the concerned monitored objects. The monitored objects that you added to MyMonitor will be grouped by group name. The charts of the monitored objects that are in the same group will be displayed in the same page. Each group can contain at most 20 monitored objects. The system can support at most 10 groups. By default, there is a group named Default.
Adding Monitored Objects to MyMonitor
To add monitored objects to MyMonitor, take the following steps:
- In most pages in Monitor, there is a button named
 at the top-right corner. After clicking this button, the Add to MyMonitor dialog appears as shown below:
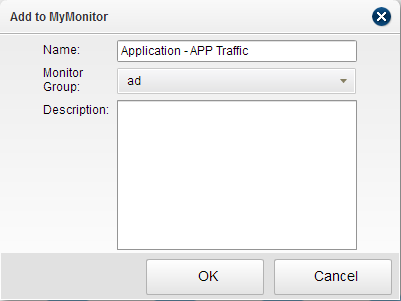
- Enter the name of the monitored object in the Name textbox.
- From the Monitor Group drop-down menu, select a monitor group to which the monitored object is added.
- Enter the description in the Description textbox.
- Click OK to save the configurations.
Creating New Monitor Groups
To create new monitor groups, take the following steps:
- In Monitor > MyMonitor page, click the Configure Monitor Group button at the top-right corner. The Configure Monitor Group dialog appears.
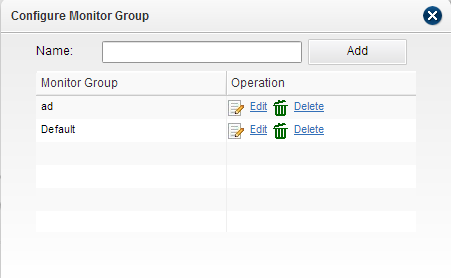
- Enter the group name in the Name textbox and then click Add.
Editing/Deleting Monitor Groups
To edit or delete a monitor group, take the following steps:
- In Monitor > MyMonitor page, click the Configure Monitor Group button at the top-right corner. The Configure Monitor Group dialog appears.
- In the table, click Edit to delete the corresponding group or click Delete to delete the corresponding group.
Viewing a Monitor Group
In MyMonitor page, click  at the top-left corner and select a desired group. The main window will display the charts of the monitored objects that are in the selected monitored group.